
Why Every Garden Needs a Weed Barrier (And How to Install One Right)
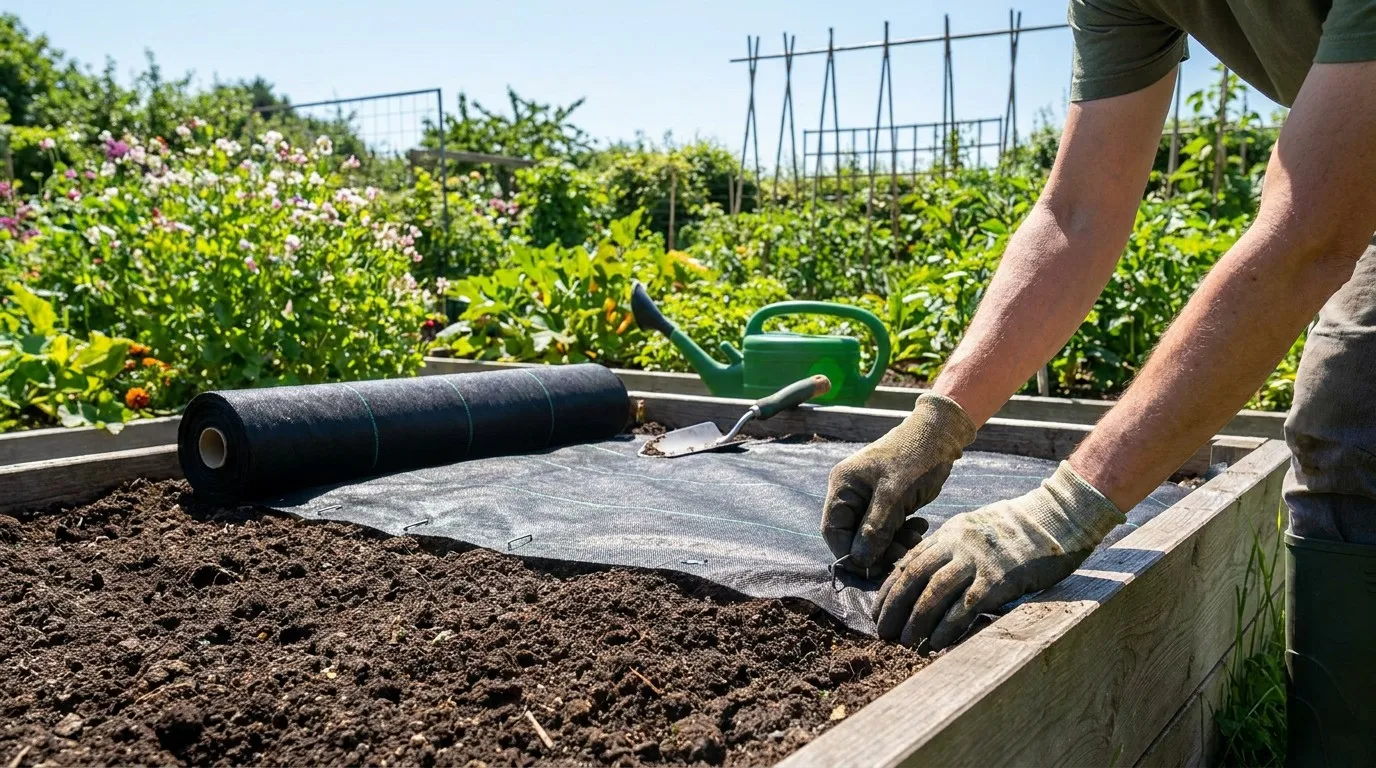
Weeding is the task every gardener dreads and most never fully escape. But there's a structural solution that reduces weed pressure by 80–90% while improving soil moisture and temperature regulation: a quality weed barrier. Here's everything you need to know about choosing and installing one correctly.
What Is a Weed Barrier?
A weed barrier (also called landscape fabric or weed mat) is a permeable geotextile fabric laid over soil that blocks light — and therefore prevents weed seed germination — while allowing water and air to pass through to plant roots. Unlike plastic sheeting, quality woven fabric doesn't suffocate soil biology.
Where Weed Barriers Work Best
- Pathways between beds: The single best use case. A weed-free path requires zero ongoing maintenance.
- Under mulch: Fabric + 2–3 inches of mulch on top creates a nearly impenetrable weed barrier that also looks polished.
- Beneath gravel or stone: Prevents weeds from pushing up through decorative stone for years.
- Around established shrubs and trees: Cut holes for existing plants, lay fabric around them, cover with mulch.
- Beneath raised beds: Laid at the base of a raised bed, it prevents ground weeds from growing up into your bed while allowing drainage.
Where Weed Barriers Don't Work Well
- In vegetable beds with regular replanting: Piercing fabric repeatedly for new transplants degrades it quickly. Use thick mulch instead for annual vegetable beds.
- Directly under water-hungry plants: Although permeable, fabric slows water infiltration in heavy rain — monitor soil moisture more carefully.
Choosing the Right Fabric
Not all landscape fabric is equal. Look for:
- Weight: Minimum 3.0–3.5 oz/sq yd for anything permanent. Lighter fabrics degrade in 1–2 seasons.
- Weave type: Woven polypropylene is more durable and water-permeable than spunbond. For long-term installations, woven is always worth the premium.
- UV stabilization: If fabric will be exposed to sunlight (not covered with mulch), UV stabilization prevents rapid degradation.
Our Heavy-Duty Weed Barrier Fabric is a professional-grade woven polypropylene rated for long-term outdoor use — the same specification used by commercial landscapers.
How to Install a Weed Barrier: Step by Step
- Prepare the area: Remove existing weeds thoroughly — pull roots, don't just cut tops. Perennial weeds like bindweed and thistle will push through weak fabric if roots remain. Rake the surface flat.
- Measure and cut: Roll out fabric and cut to size with heavy scissors or a utility knife. Overlap seams by at least 6 inches — gaps let weeds through.
- Lay and secure: Lay fabric smooth and taut over the prepared area. Secure edges and seams with landscape staples (U-pins) every 12 inches and at all corners. In windy areas, staple more frequently.
- Cut holes for plants: Use an X-cut or circle cut for each plant. Make the hole only as large as necessary — excess openings let light and weeds through.
- Cover with mulch: Apply 2–3 inches of bark chips, gravel, or stone over the fabric. This protects the fabric from UV degradation, improves aesthetics, and adds another layer of weed suppression.
Maintenance and Longevity
Quality woven fabric lasts 10–20 years when covered with mulch. Without cover, 3–5 years in direct sun. The only maintenance required is occasional top-up of mulch as it breaks down (every 1–2 years). If weeds begin pushing through, it's usually from soil accumulation on top of the fabric — blow or rake this off so seeds can't germinate in it.
Install once and reclaim the hours you currently spend weeding every season. Find our professional-grade weed barrier and complete garden tool range at vyrgromm.com.